Help · Promoters
Throw your first party
Five steps, and only the first two are required before you publish.
Create → tickets → payment links → publish → share.
The Getting started list on your dashboard ticks these off as you go, and points at the next one.
Search is ⌘K (Ctrl K on Windows, or just /) anywhere in the dashboard. It finds actions, your events, any section of the event you're on, and these docs.
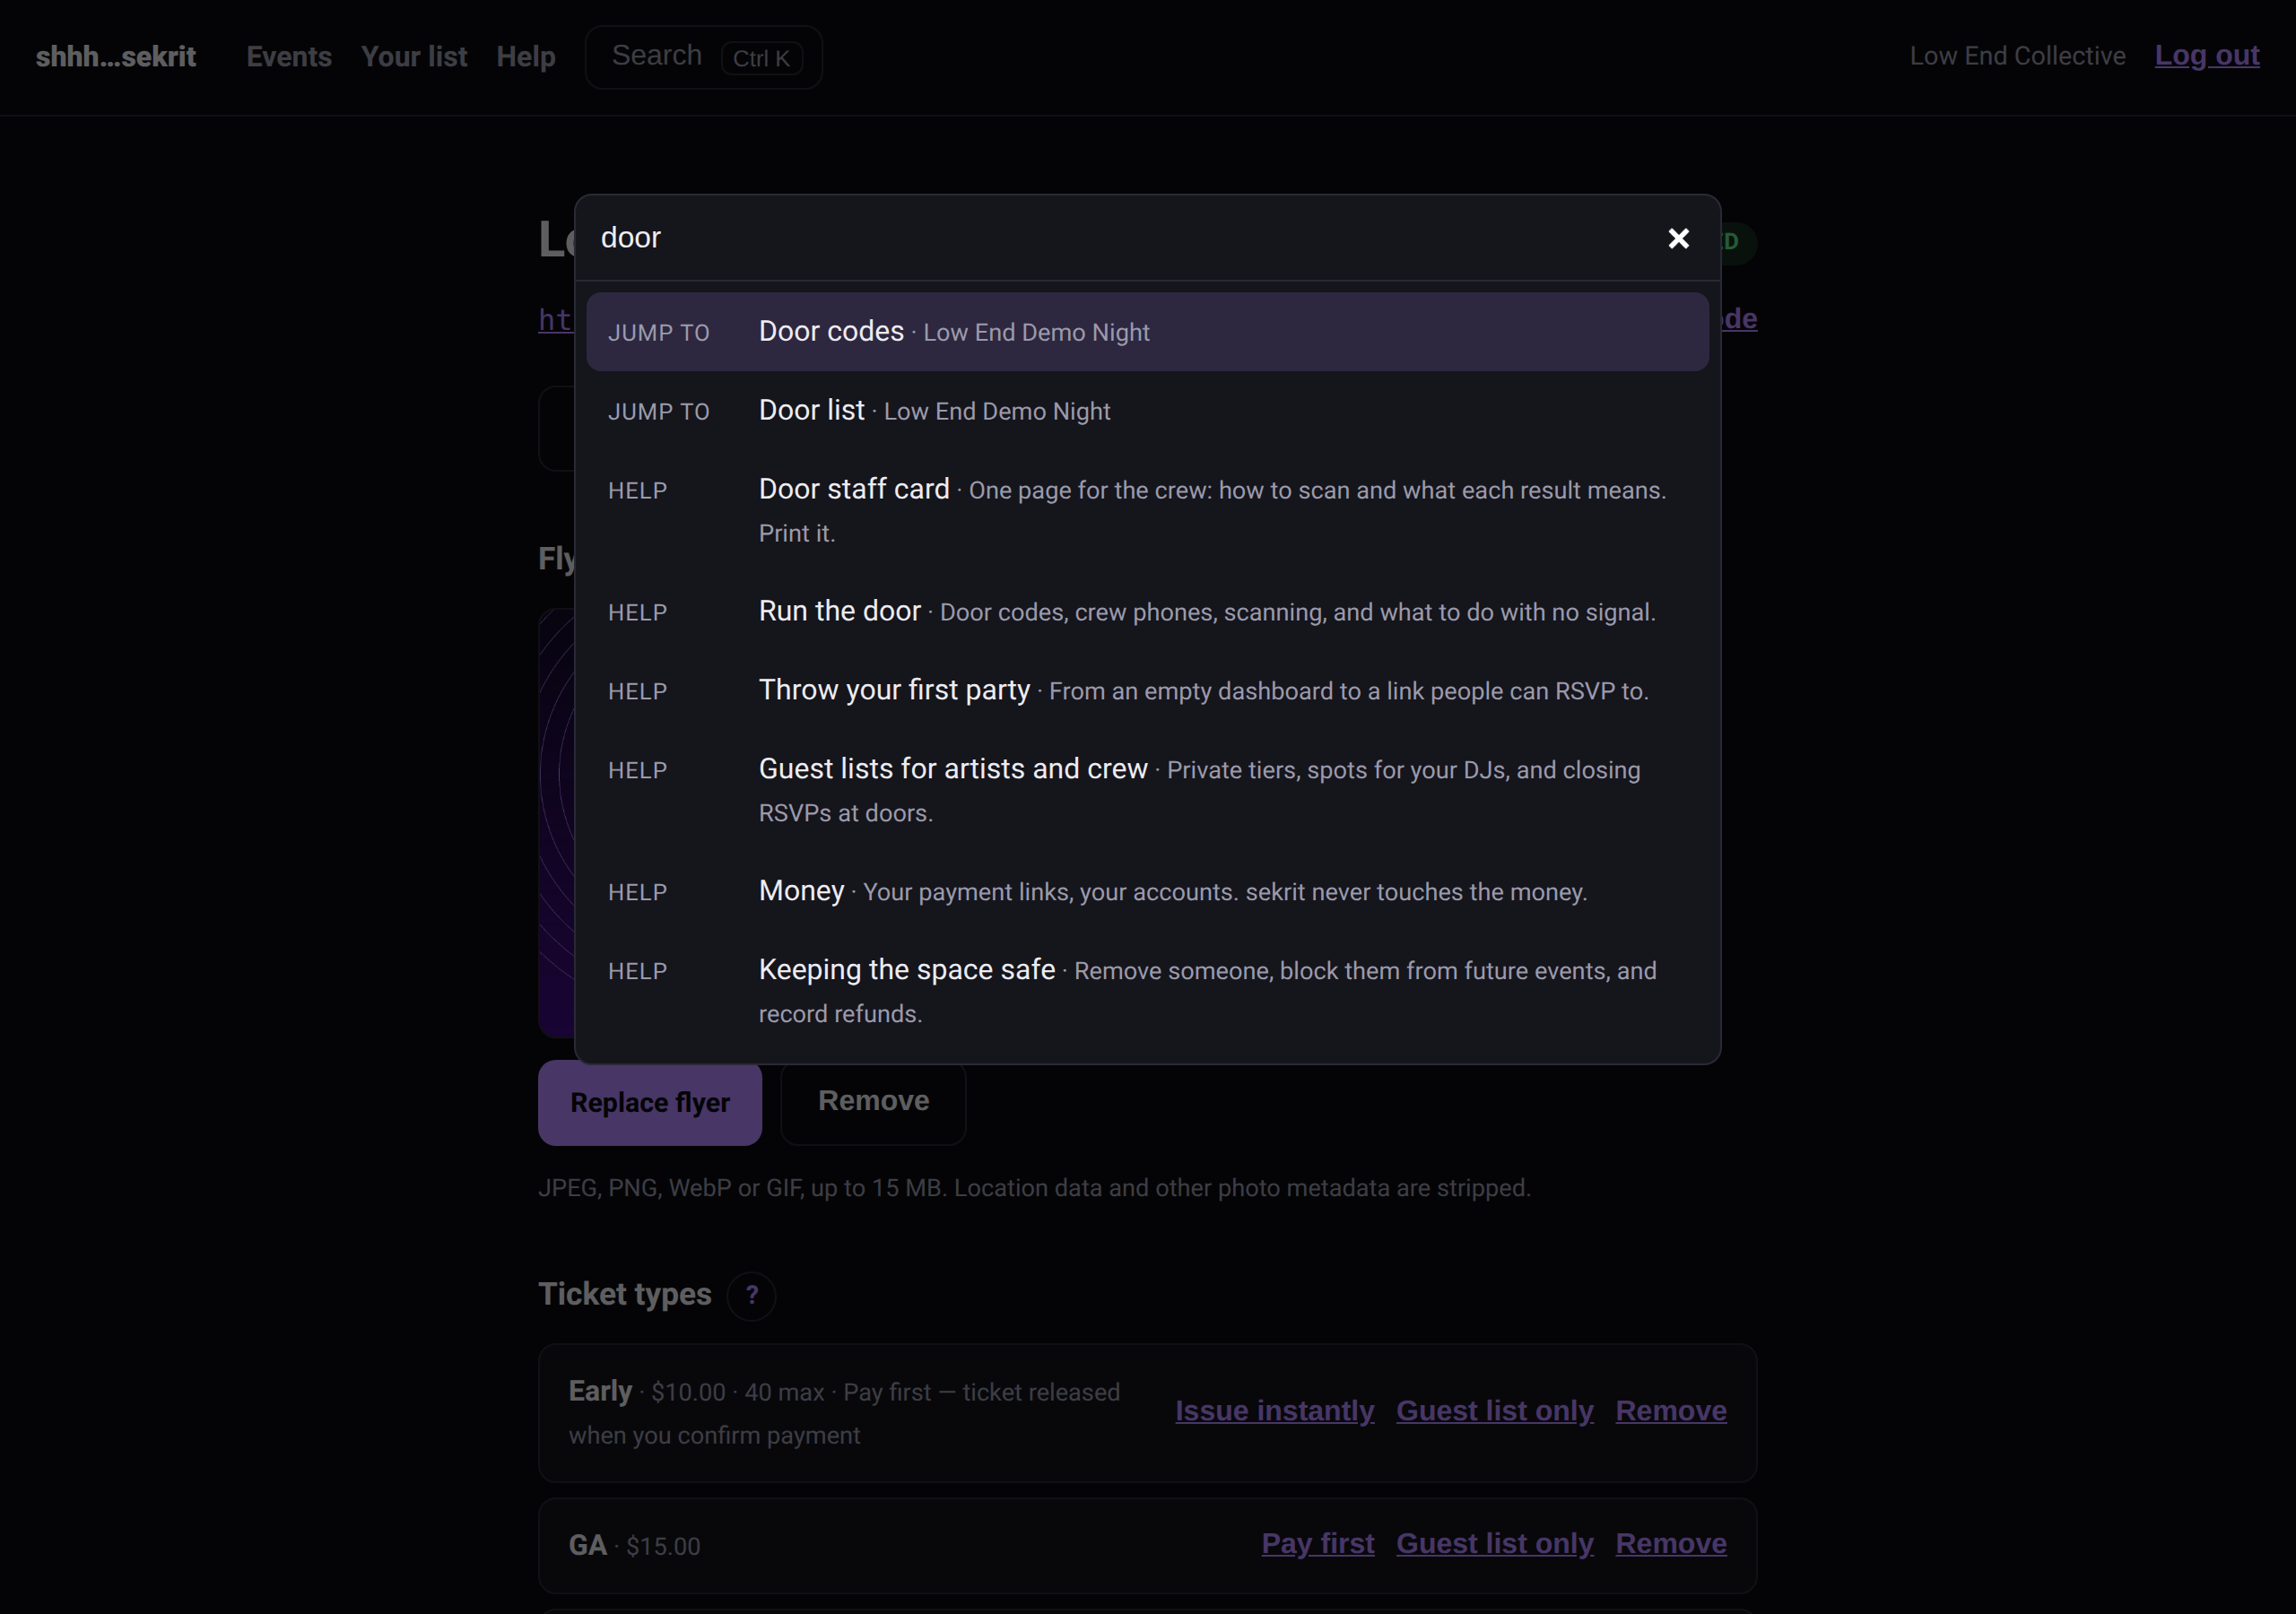 ⌘K finds sections, events and help.
1. Create the event #
On the dashboard, hit New event. Title, start time and timezone are the only required fields — everything else can come later.
- Times are in the event's timezone, not your phone's. Pick the zone the party is in and type the times as they'll read on the flyer.
- Ends the next day? Most parties do. Put the real end time and sekrit shows it as "Sat 9:00 PM – Sun 3:00 AM".
- Capacity is what the room holds. Leave it empty for no limit. The public page shows the honest number left — it's never padded to make things look scarcer.
- Public or unlisted. Unlisted means it's reachable by link only. Either way, anyone with the link can RSVP.
The event starts as a draft. Nobody can see it until you publish.
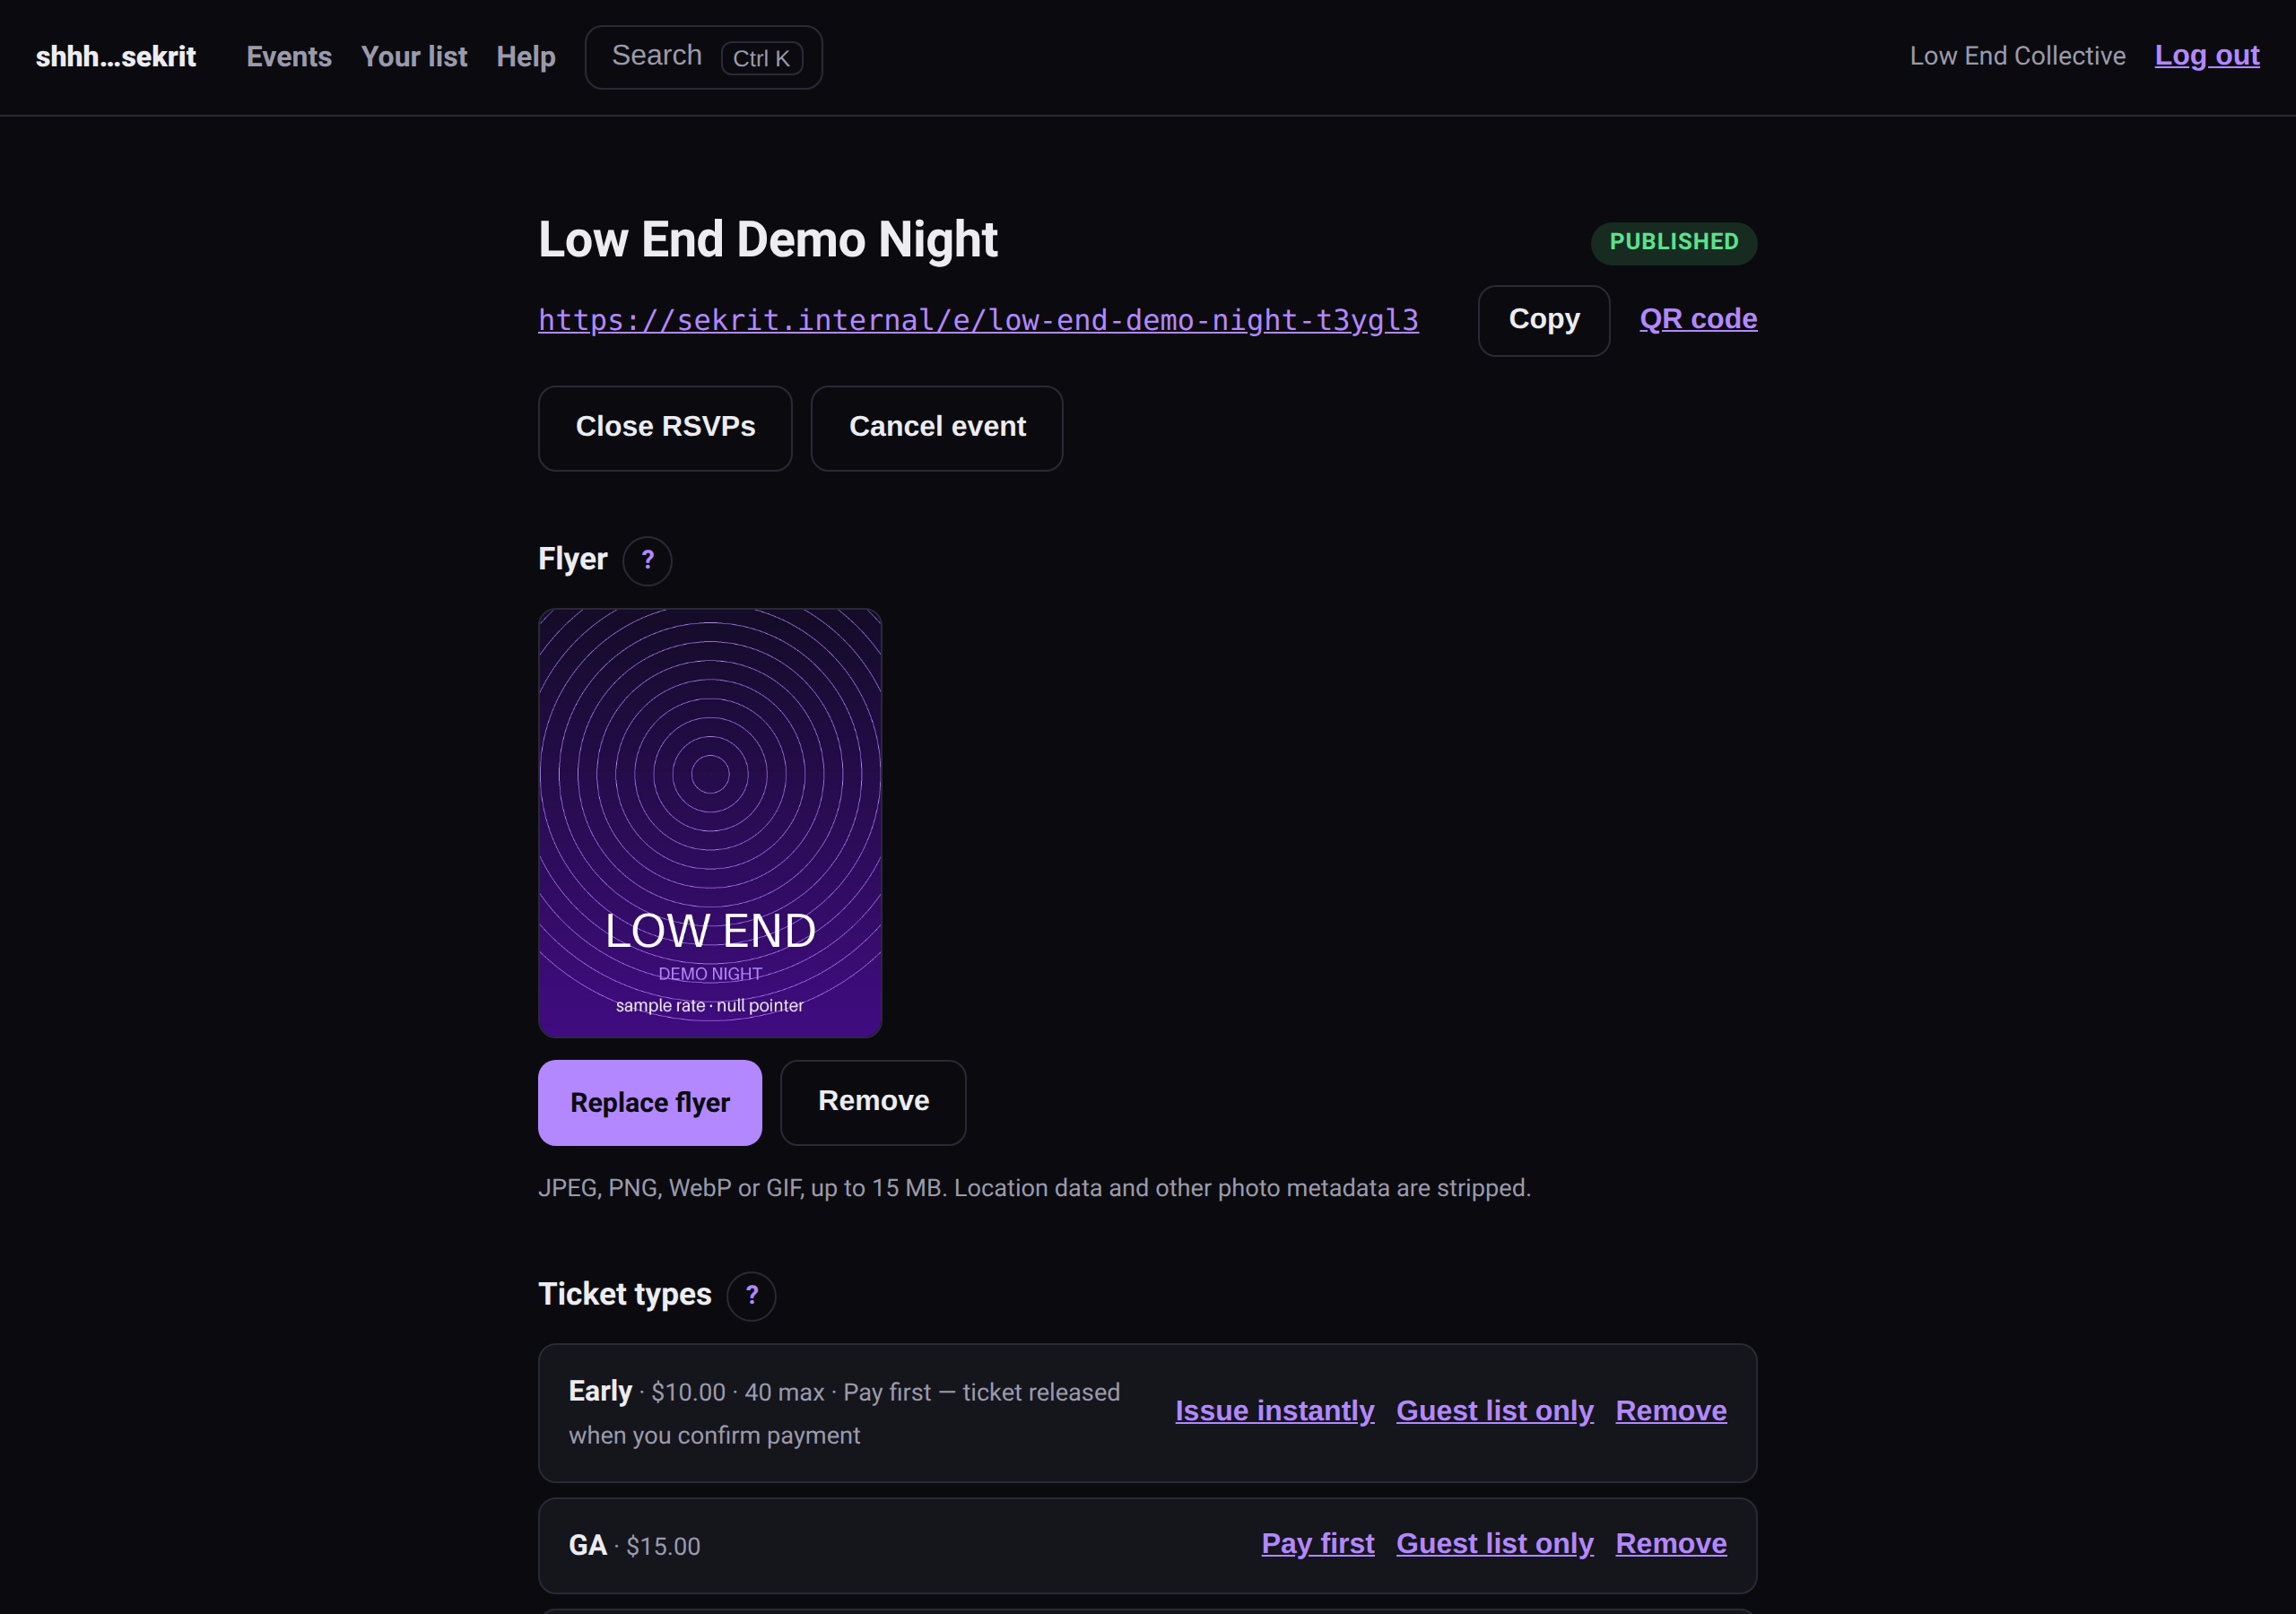 Your event's page on the dashboard. Everything about the party is set up from here.
You can add a flyer, a title font and an accent colour here too — see Flyers, fonts and formatting.
2. Add ticket types #
Under Ticket types, add at least one tier people can RSVP to — GA, Early Bird, Door, whatever you call it.
- Price is what you're asking. sekrit doesn't take payment for tickets (see Money).
- A priced ticket is paid first. People reserve it, pay you through your own payment links, and you release the ticket once the money is in your account. See Pay first. A free tier gives the ticket straight away.
- Cap limits one tier. Leave it empty and the tier shares the event's capacity.
- Guest list only hides a tier from the public page — for Artist, Crew and Comp tiers. See Guest lists.
A published event always keeps at least one public tier. An event with only guest-list tiers would be invite-only, and sekrit doesn't do invite-only.
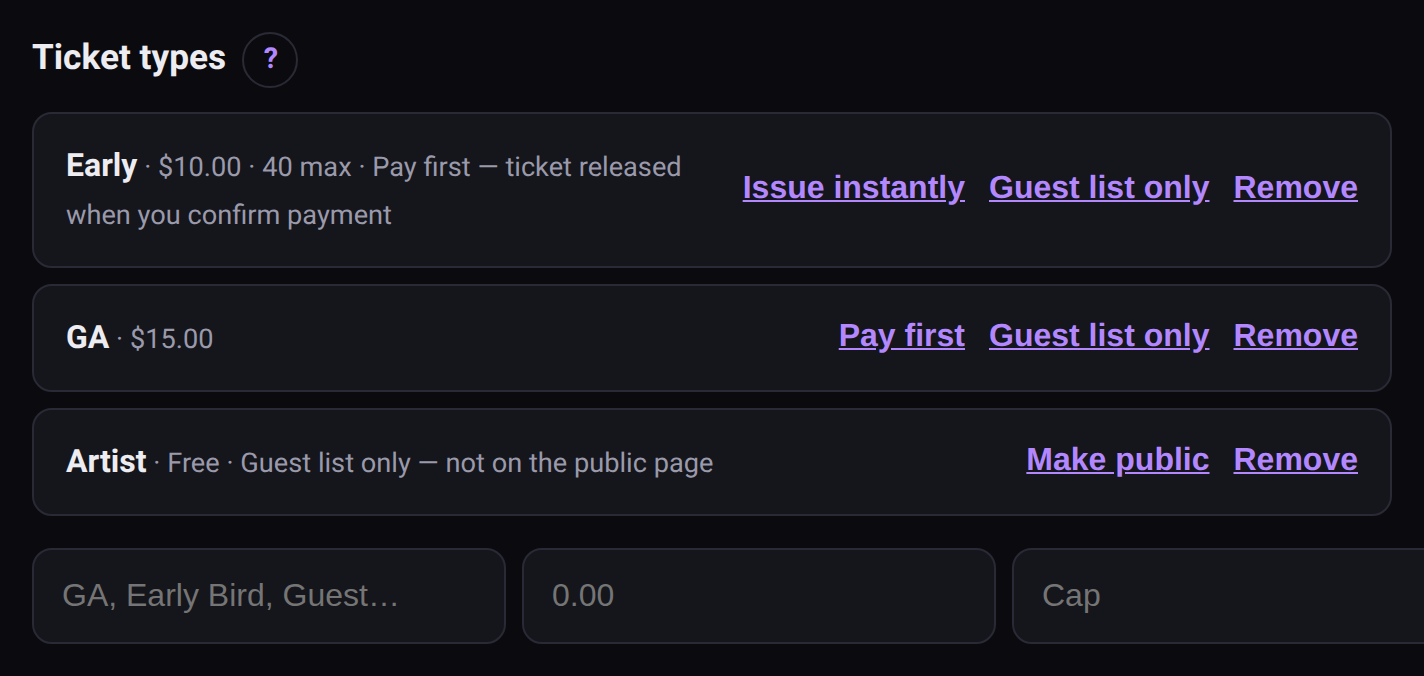 Ticket types, with a pay-first tier and a guest-list tier.
3. Add payment links (optional) #
Under Payment links, add your own Venmo, Cash App, PayPal, Zelle, Stripe or Ko-fi. They show on the event page and on everyone's ticket. The money goes straight to you — see Money.
4. Publish #
Hit Publish. The event page goes live at its link, and the notice says so. From here:
- Edits go live immediately. Fix a typo, swap the flyer, change the time.
- Cancel event is for when it's really off. It can't be undone: the page says the event was cancelled, tickets stop working at the door, and the payment links come down.
5. Share the link #
The event's link sits right under its title on the dashboard, with Copy, Share (on phones), and a QR code you can download for the flyer. The link is the whole distribution — paste it in the group chat, the story, the flyer.
What people see #
Someone opens the link, picks a tier, types their name and email, and gets their ticket on screen right away — a QR code and a typed code, with your payment links under it. No account, no app. There's an unticked box to hear about your future events, and only people who tick it are subscribed to your list.
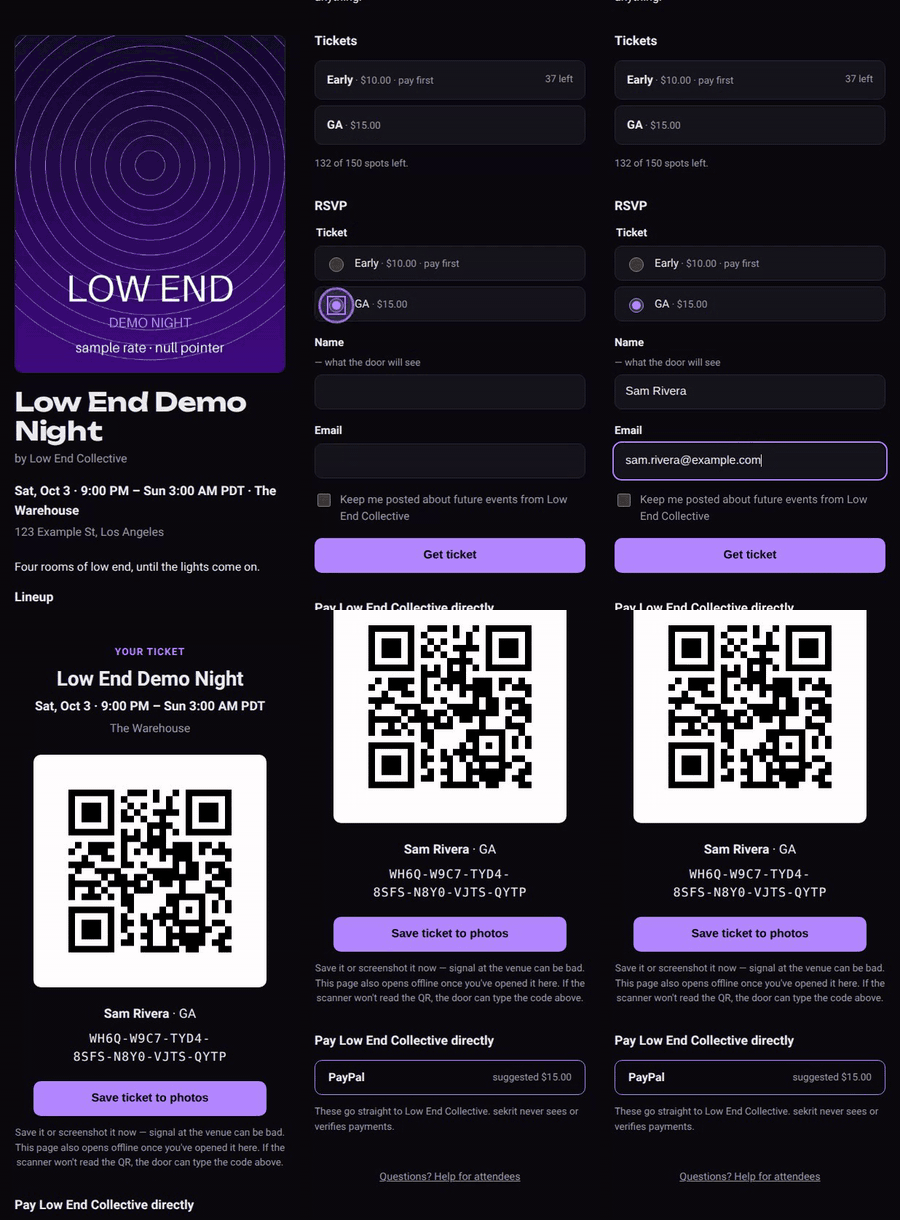 The whole thing, start to finish.
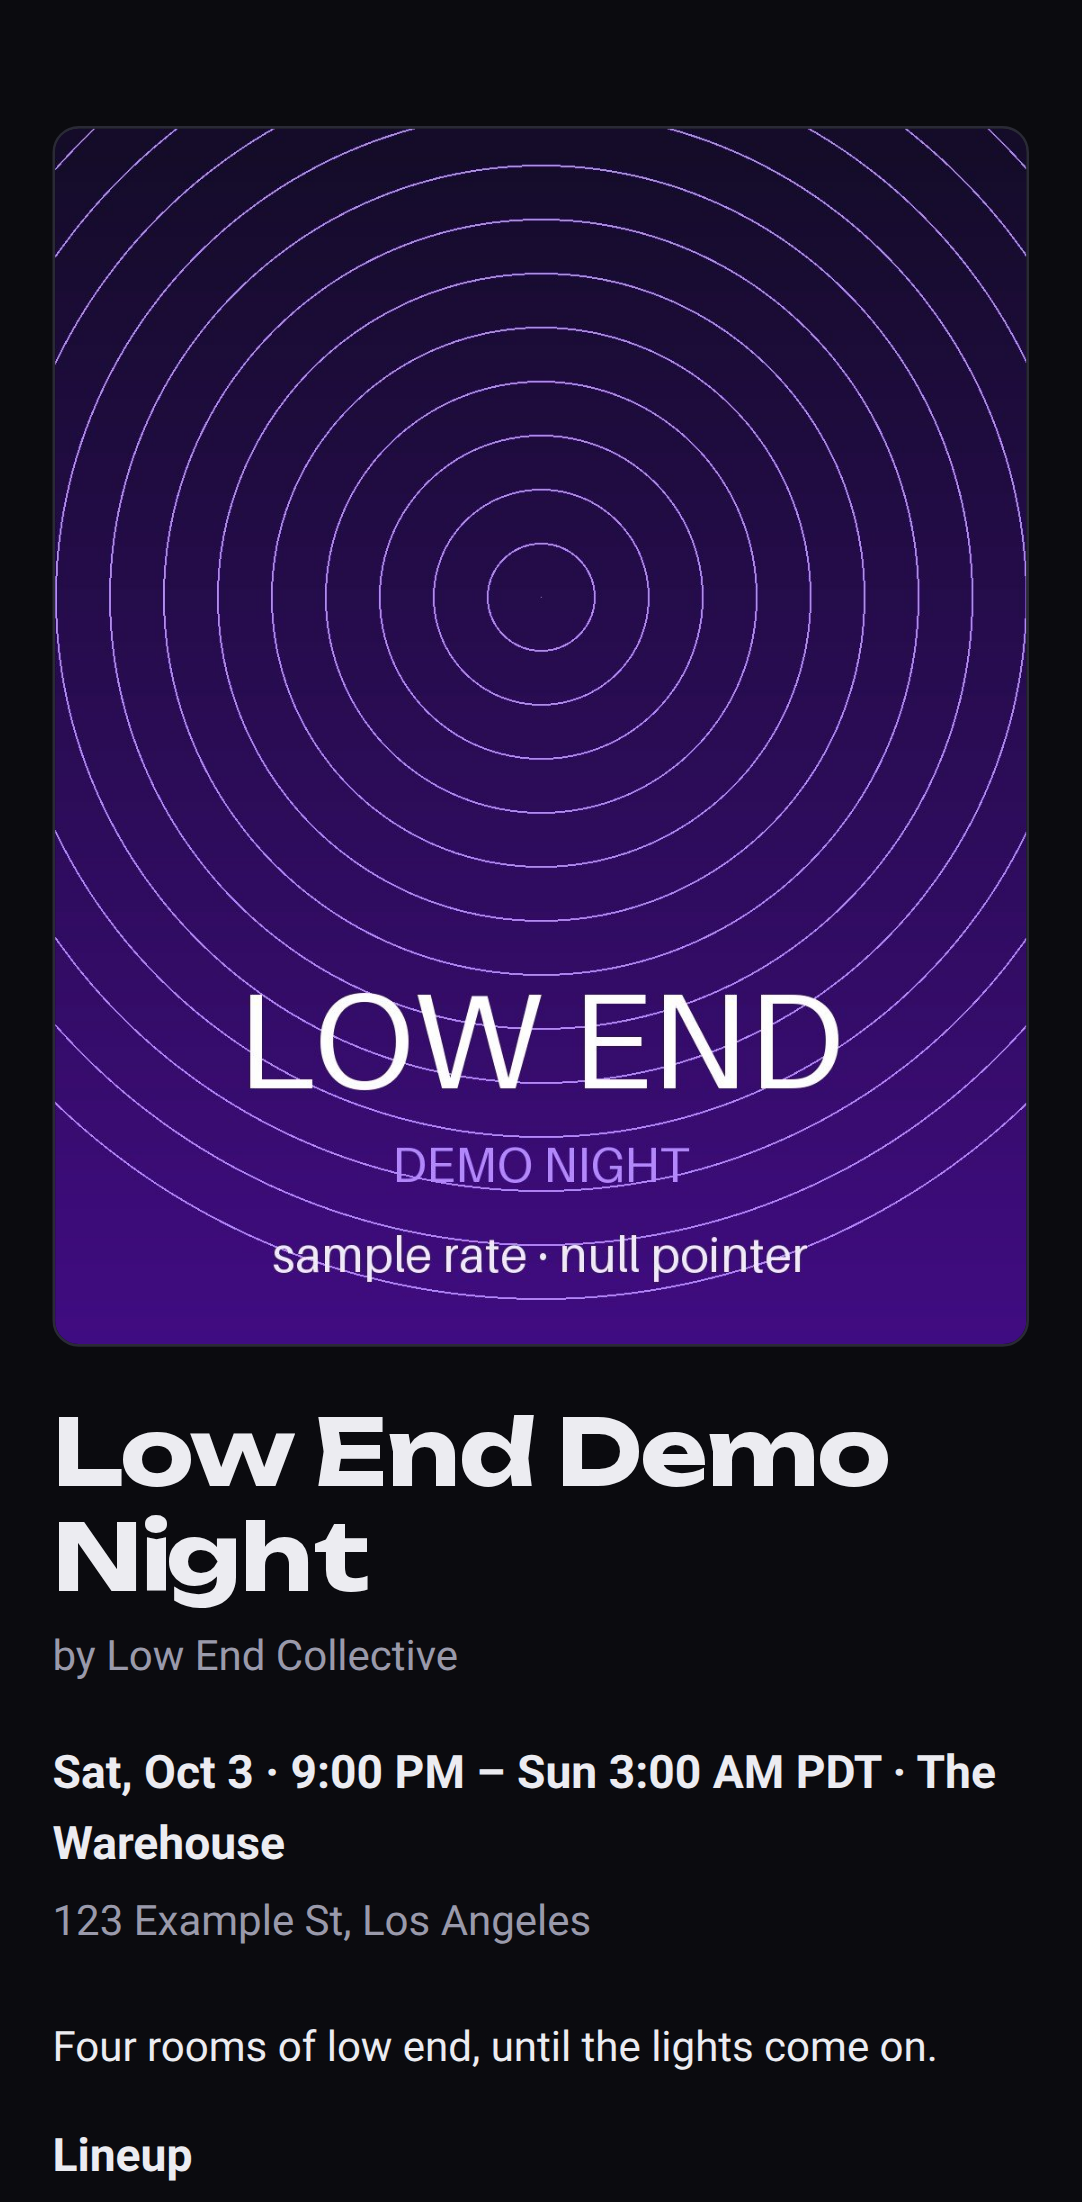 The event page, as people see it on their phone.
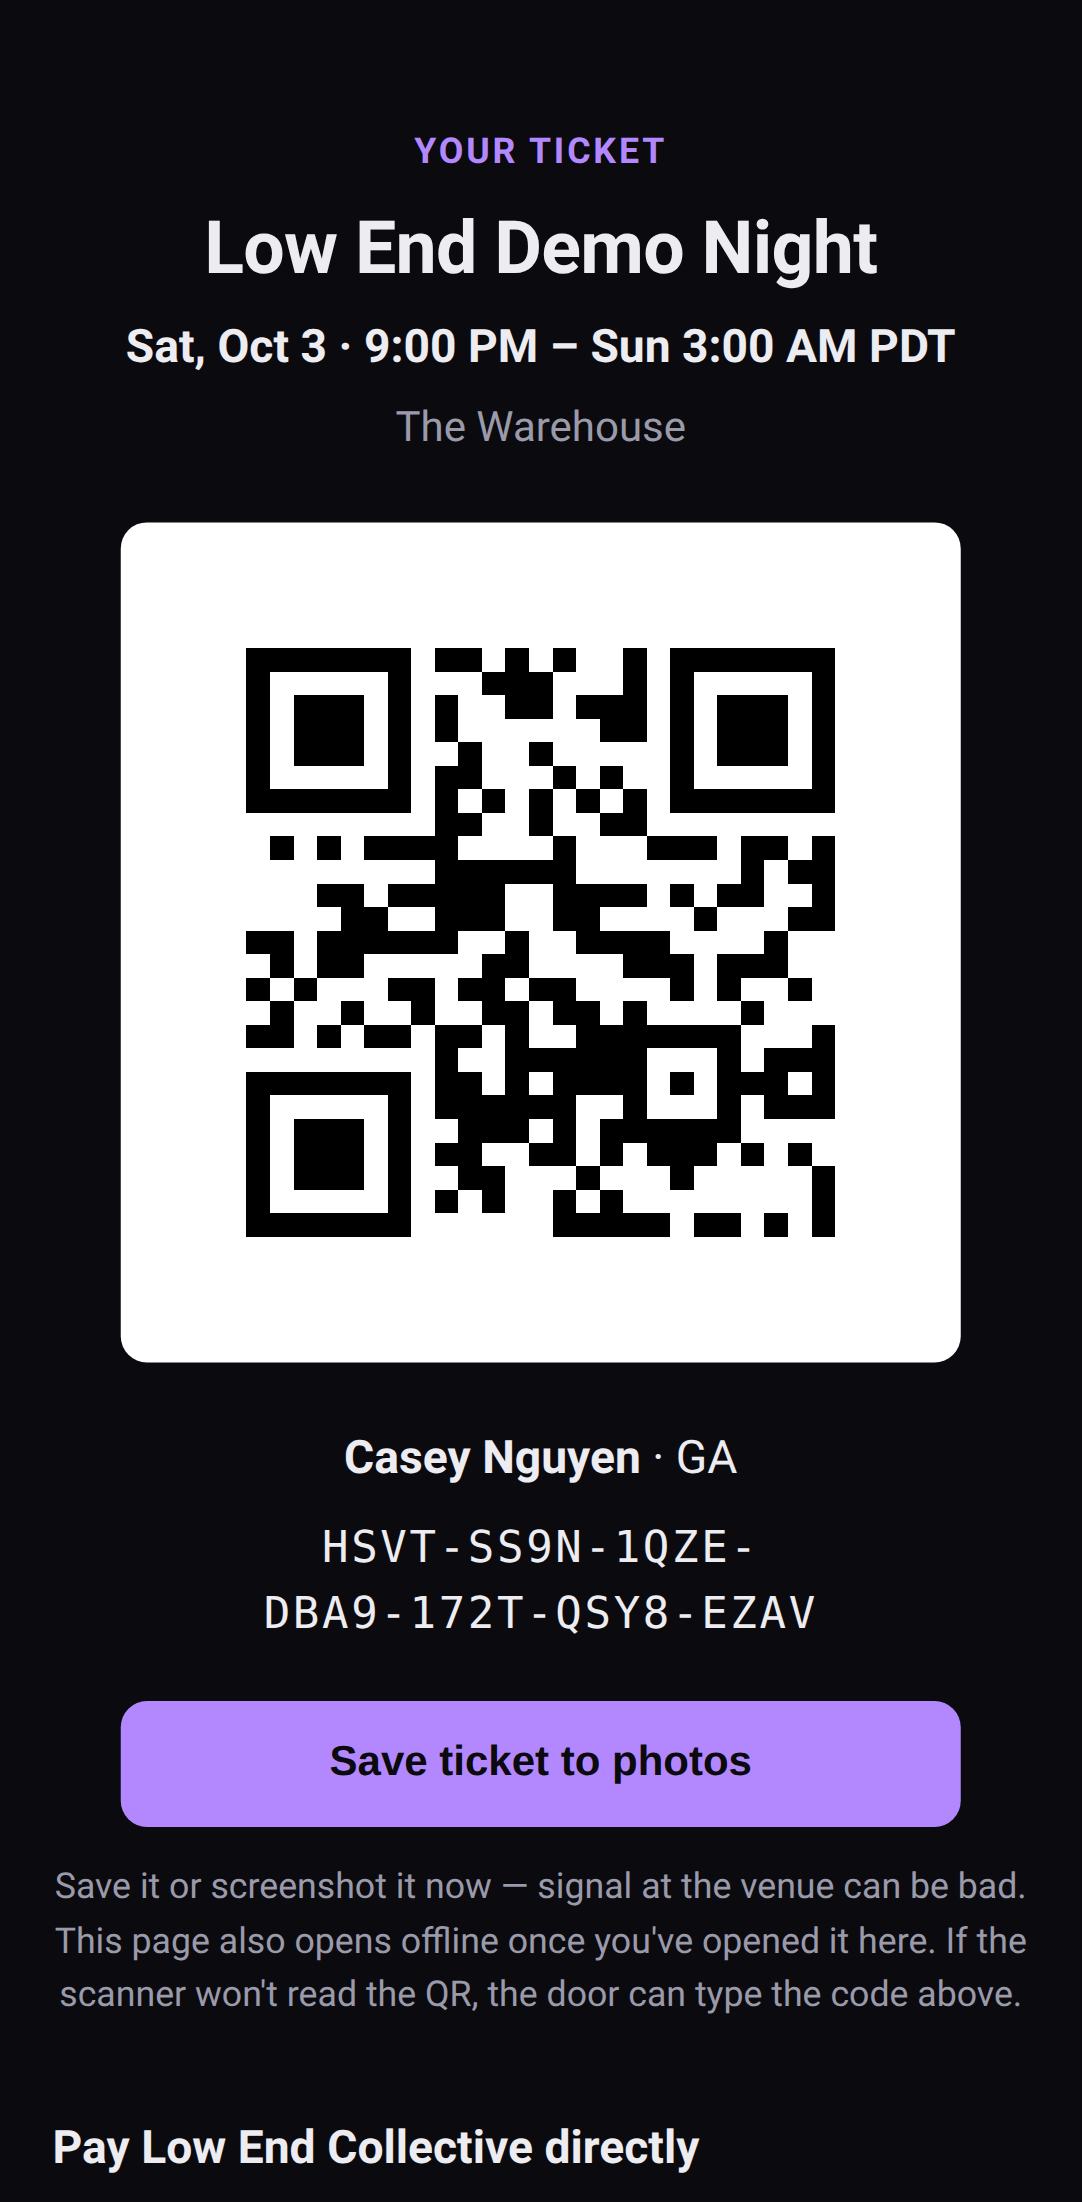 Their ticket: a QR code and the typed code under it.
Next: Run the door.
Door-only events #
Some venues sell tickets at the door and nowhere else. Tick Door only when you create or edit the event, and RSVPs become a headcount instead of tickets.
- People say they're coming, and how many they're bringing. They get a thank-you page with the flyer, the details and your links. It reminds them that tickets are sold at the door on the day. Nobody gets a ticket or a QR code.
- Ticket types are door prices. Add Door, $20 and it shows as the price at the door. Nothing is sold ahead, so you don't need a payment link. Any you add show as ways to pay at the door.
- You see the headcount under Coming on the event page: how many RSVPs, how many guests they're bringing, and the total, with a list you can download.
- Capacity doesn't apply. It's a headcount, not a limit, so nobody is told the event is full.
- People can take themselves off. Their thank-you page has I can't make it any more, which keeps your count honest.
An event can go door only any time before anyone has a ticket or an order.